Steps for a Mail Merge in Microsoft Word 2003
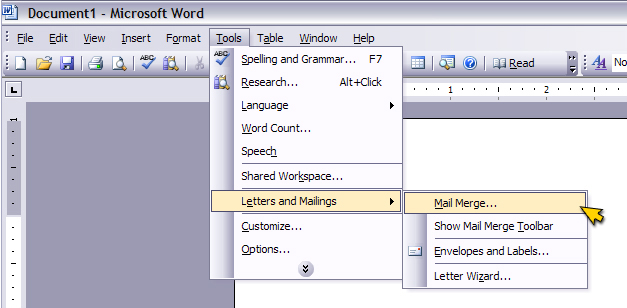
Step 1
Select Tools » Letters and Mailings » Mail Merge
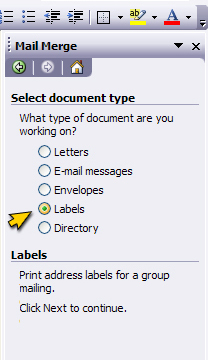
Step 2
Check the Labels radio button
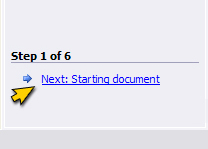
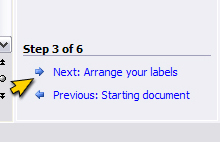
Step 3
Click Next: Starting document
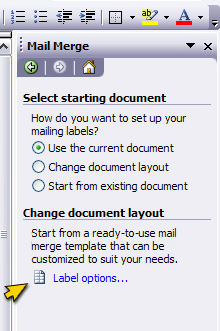
Step 4
Click Label options...
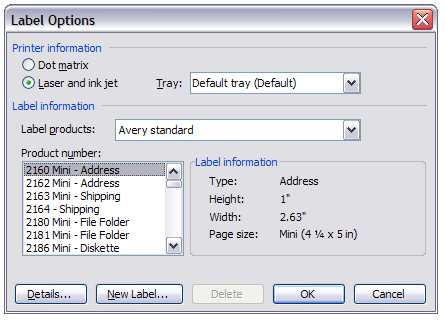
Step 5
Make sure to select the correct type of printer, and the correct tray (if necessary)
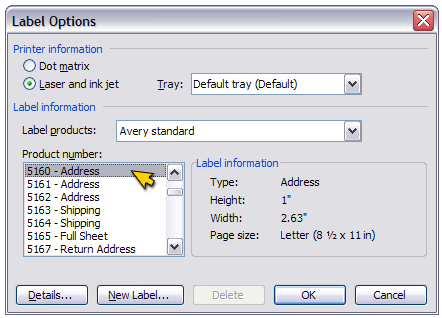
Step 6
Select the correct Label type from the Product Number Box (this usually corresponds with a number on your box of labels)
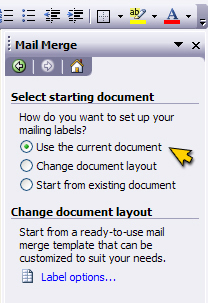
Step 8
Check the Use the current document radio button
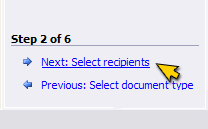
Step 9
Click Next: Select recipients
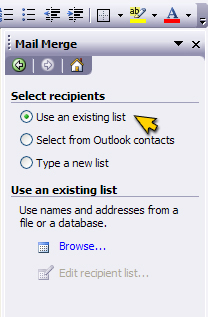
Step 10
Check the Use an existing list radio button
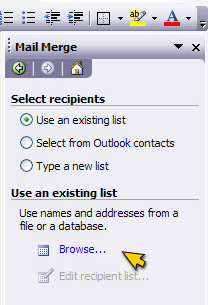
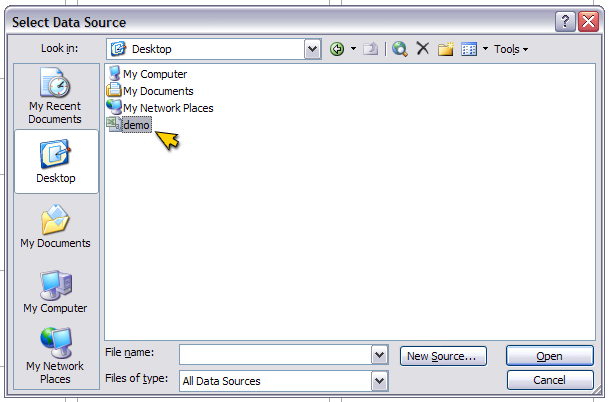
Step 12
Select the file from the Select Data Source dialog box and then Click Open
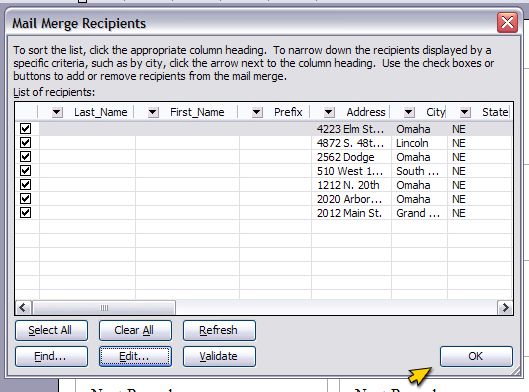
Step 13
In the Mail Merge Recipients dialog box click OK
Step 14
Click Next: Arrange you labels
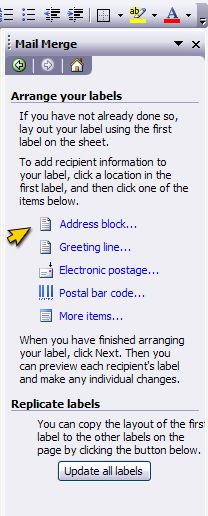
Step 15
Click Address block...
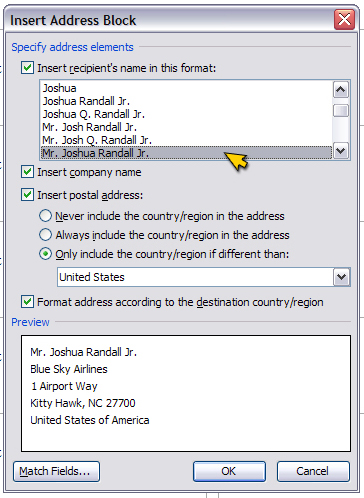
Step 16
Change options as needed
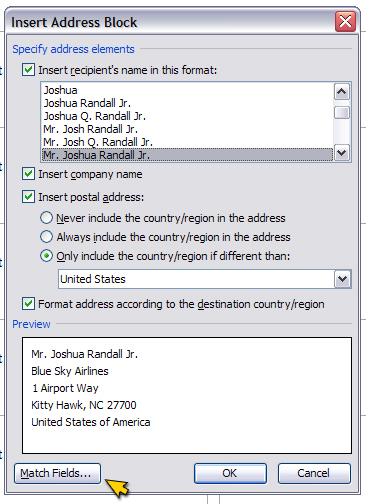
Step 17
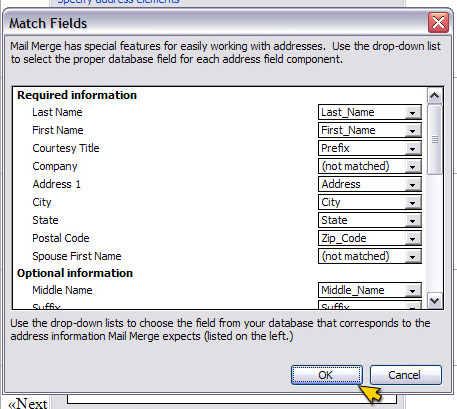
Click the Match Fields... button
Step 18
In the Match Fields dialog box, it is very important that you match the data headings from your data file to the appropriate Field information.
Step 19
Click OK button when done matching all your fields
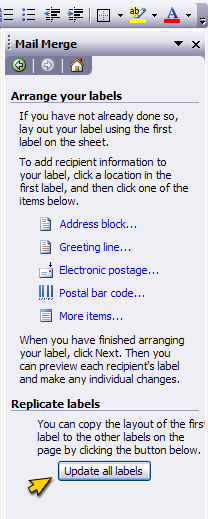
Step 20
Click the Update all labels button
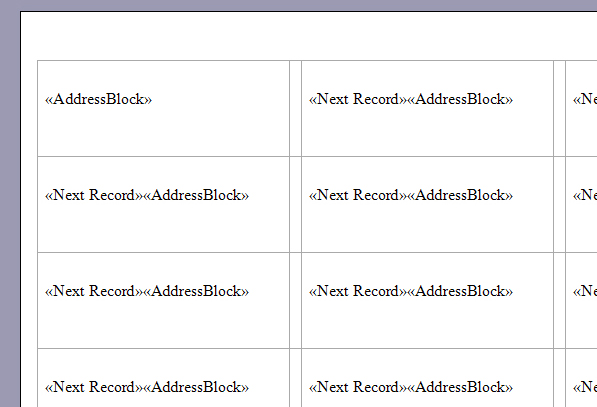
Step 21
Your Microsoft Word document should look similar to the one to the right.
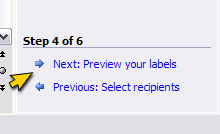
Step 22
Click Next: Preview your labels
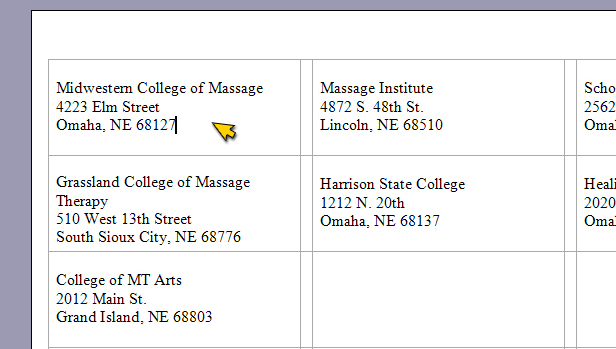
Step 23
Your Microsoft Word document should look similar to the one to the right.
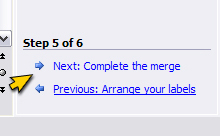
Step 24
Click Next: Complete the merge
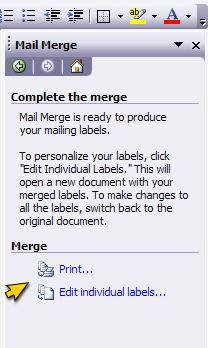
Step 25
On this step, you may now print your labels, or you may Edit individual labels, depending on what your needs are.